Starting a new event
From your dashboard or the Events page, click the + Create Event button. You’ll see the template picker.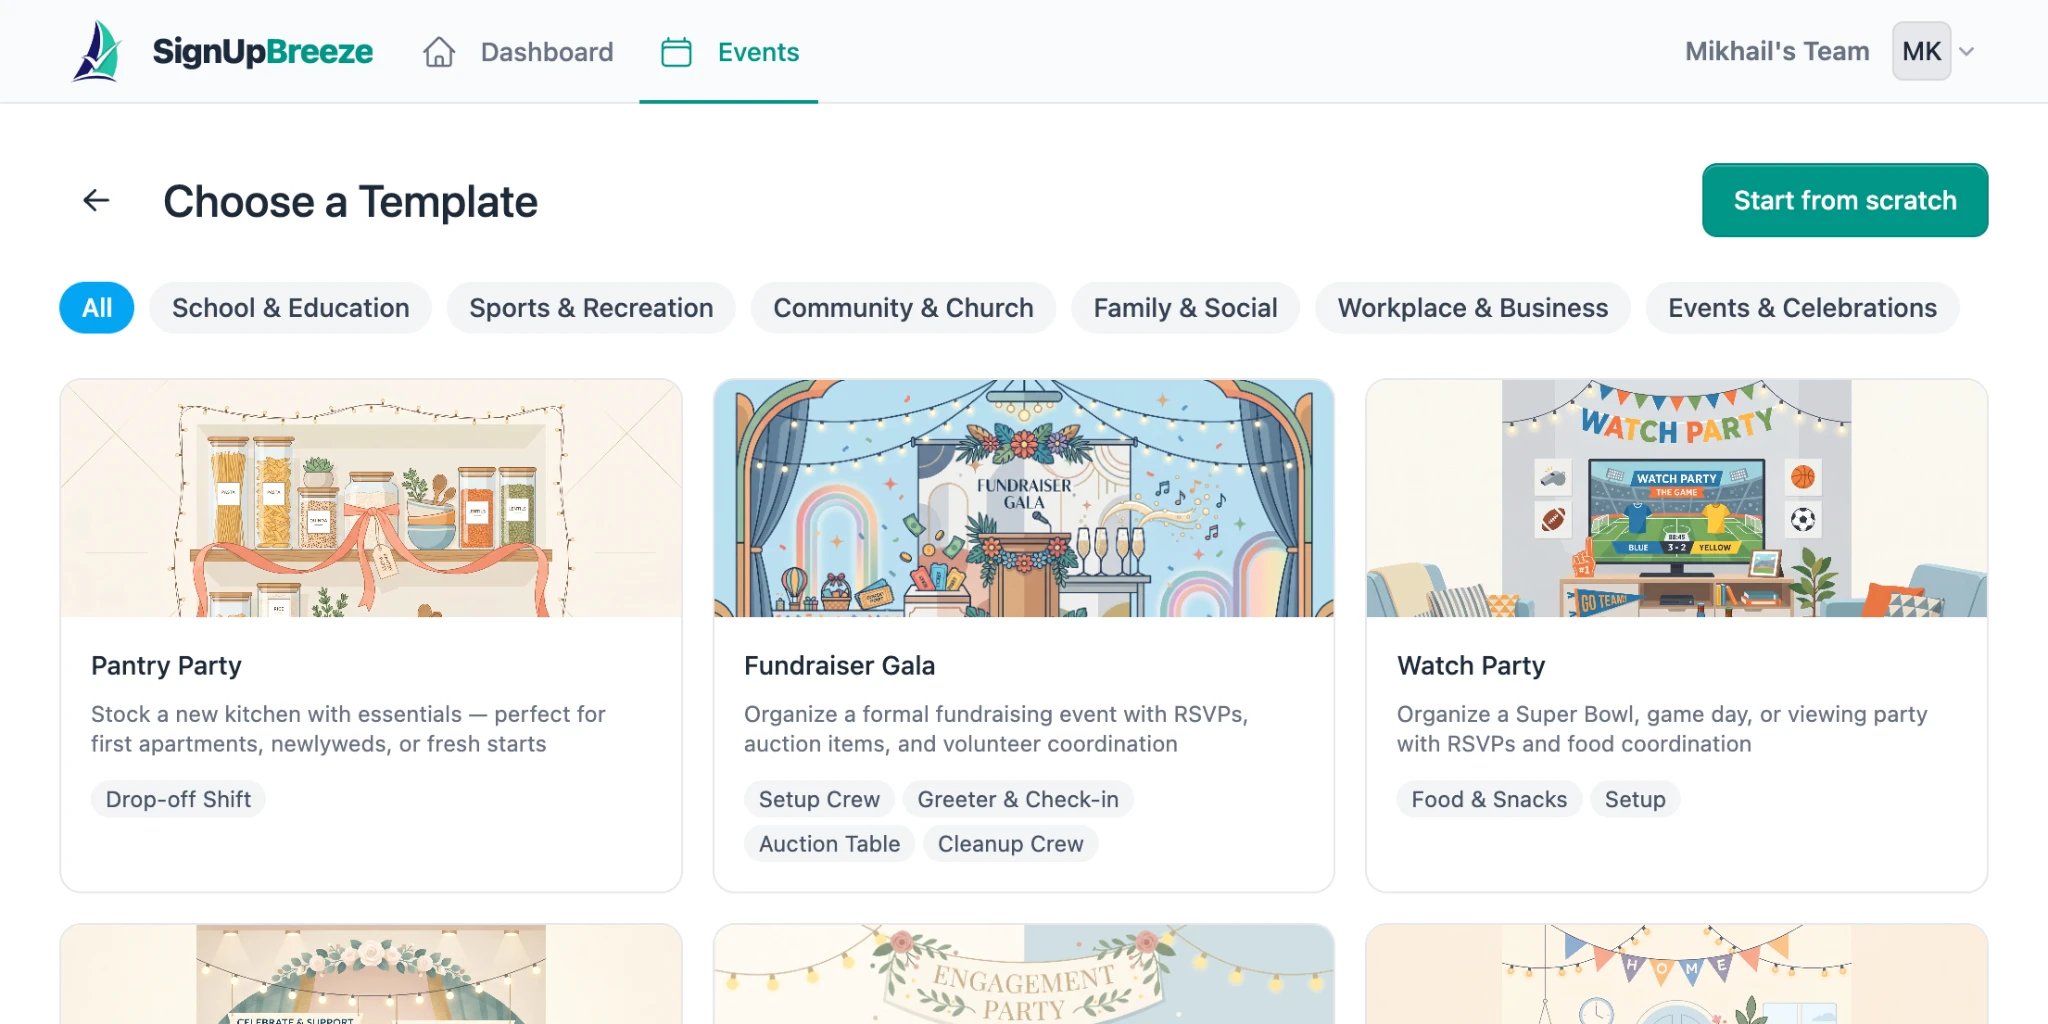
Using a template
SignUpBreeze comes with a library of predefined templates organized by category:- School & Education — field day, classroom volunteer, book fair
- Sports & Recreation — tournament, practice schedule, team events
- Community & Church — food drive, worship service, community cleanup
- Family & Social — watch party, engagement party, baby shower
- Workplace & Business — team building, office events
- Events & Celebrations — fundraiser gala, holiday party, graduation
Starting from scratch
Click the Start from scratch button in the top right to create a blank event. You’ll fill in everything yourself.Event details
Whether you chose a template or started from scratch, you can edit all event details from the Details tab: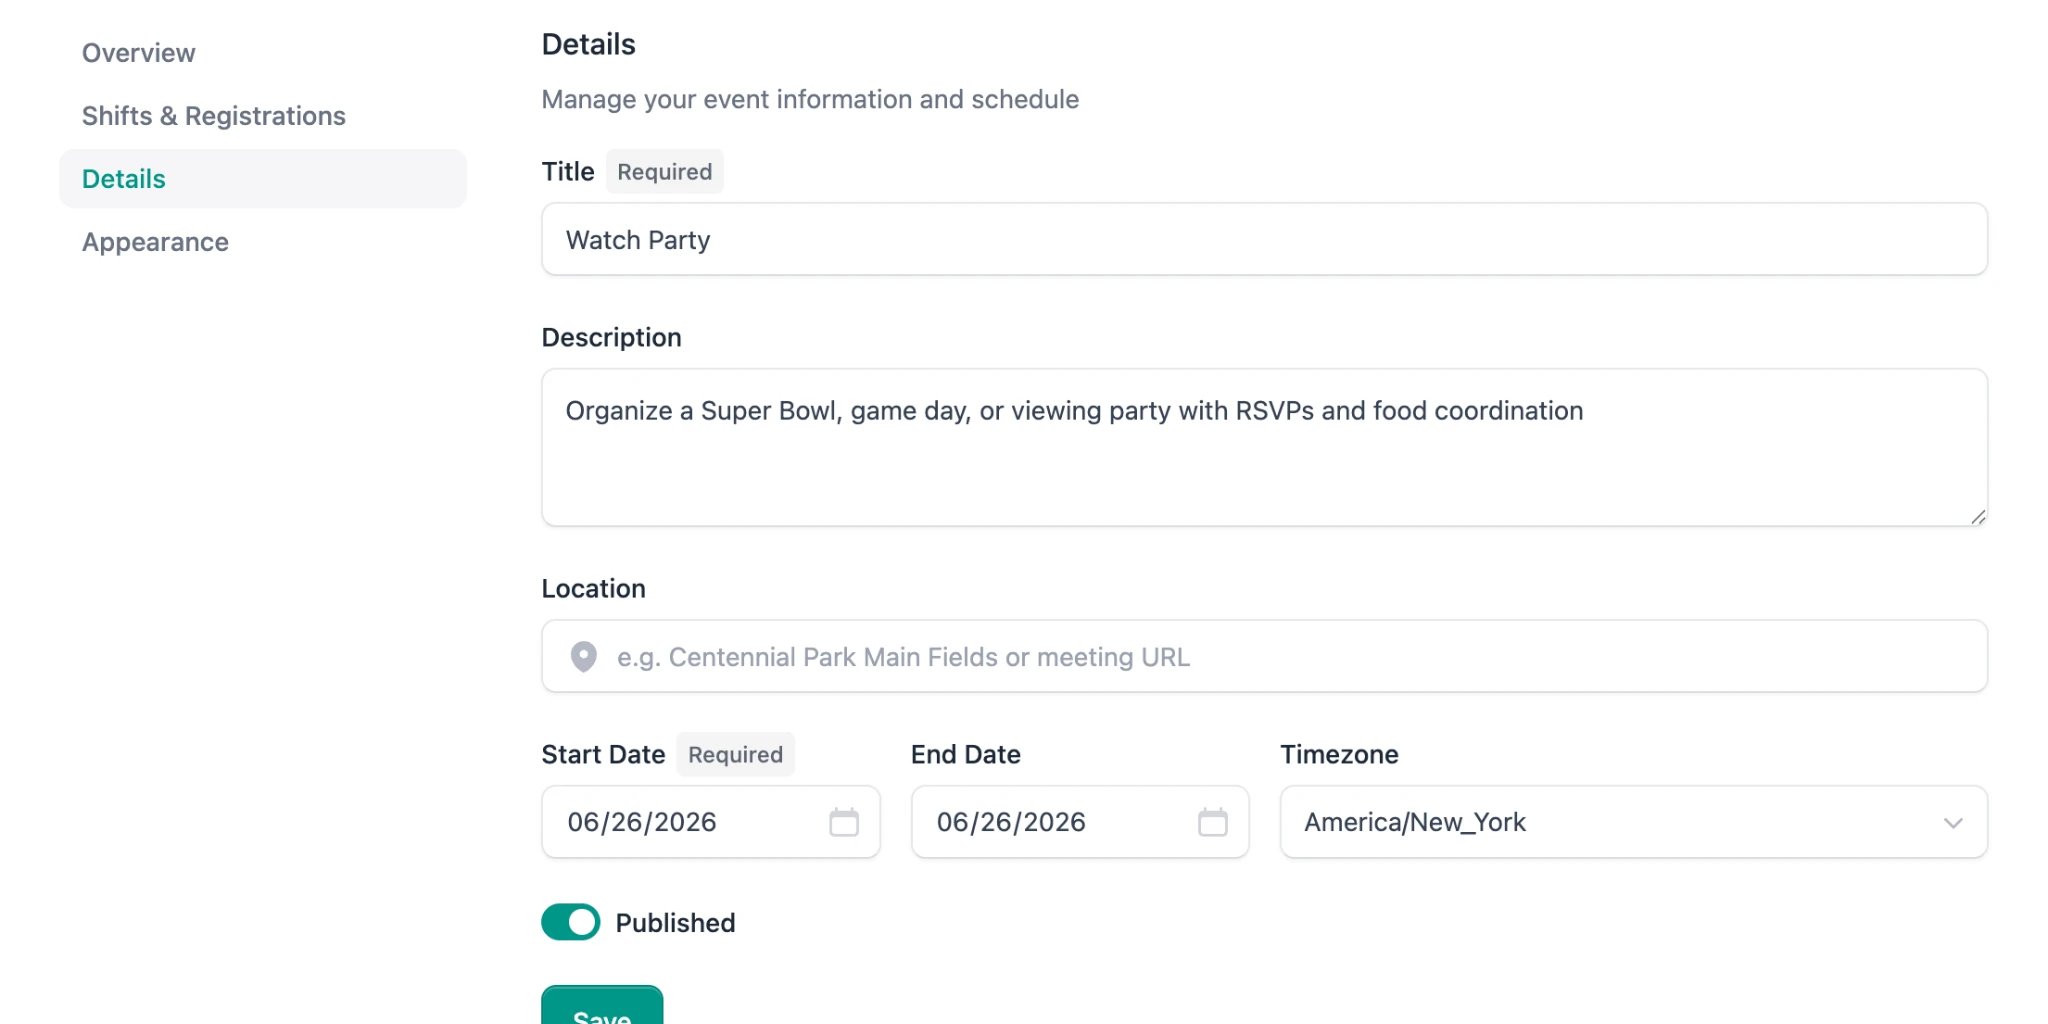
- Title (required) — the name of your event
- Description — what volunteers need to know (what to bring, expectations, parking, etc.)
- Location — a physical address or meeting URL (placeholder hint: “e.g. Centennial Park Main Fields or meeting URL”)
- Start Date (required) — when the event begins
- End Date — when it ends (can be the same day for single-day events)
- Timezone — defaults to your local timezone, can be changed via dropdown
- Published — toggle to make the event visible on its public page